online poker

Archive for the ‘Carpet’ Category

Summer is an ideal time to embark on interior renovation projects. With longer daylight hours and a more relaxed atmosphere, it’s the perfect season to update and refresh your home’s interior. Whether you’re looking to enhance your living space’s functionality, modernize your decor, or simply make your home more comfortable, there are numerous summer renovation projects to consider. Here are some exciting ideas to inspire your interior summer renovations.

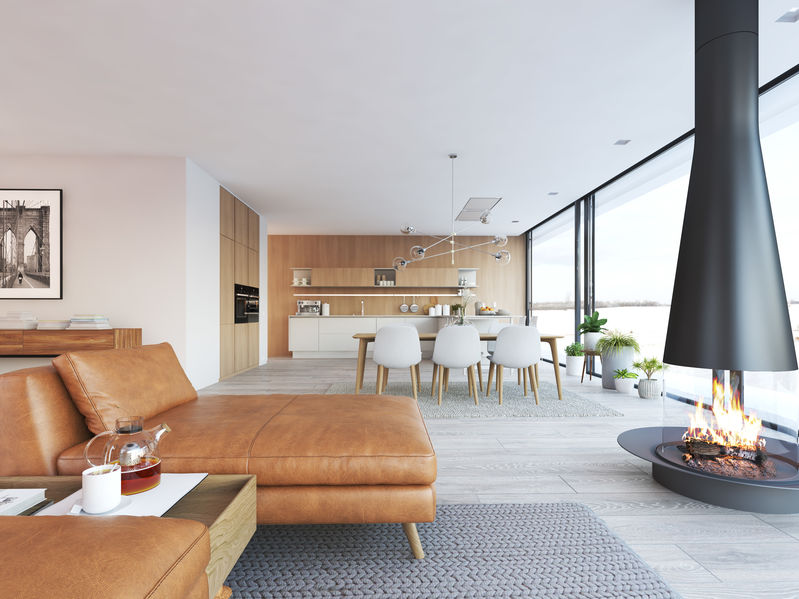
1. Revamp Your Living Room

Fresh Coat of Paint

One of the simplest yet most effective ways to transform your living room is by giving it a fresh coat of paint. If you love the feeling of summer in your home year round, choose light, airy colors to brighten the space and make it feel more open. Summer hues like soft blues, greens, or warm neutrals can bring a refreshing change to your living room.

Update Furniture

Consider updating your furniture to give your living room a new look. Invest in a new sofa, add a stylish coffee table, or incorporate comfortable chairs. Opt for furniture pieces that are both functional and aesthetically pleasing, enhancing the room’s overall appeal.

Add New Lighting

Lighting can dramatically change the ambiance of a room. Replace outdated fixtures with modern, energy-efficient options. Consider adding floor lamps, table lamps, or even installing dimmer switches to control the mood of the room. Natural light is also a great asset, so make sure your windows are clean and unobstructed.

2. Modernize Your Kitchen

Cabinet Update

If your kitchen cabinets are looking tired, consider replacing them. Cabinetry is a very important decision in the building or remodeling process. If you haven’t shopped for cabinets lately it can be very overwhelming with all of the design and finish options available since you typically don’t plan to replace your cabinets! We have taken the guesswork out of giving you the basics you need to know before shopping. Cabinets are so important because they keep you organized and they are a major design element in a room. With today’s technology, there are endless finish options and organizational options giving you the opportunity to get a product that fits your style and personality exactly- budget permitting, of course.

Upgrade Appliances

Summer is a great time to upgrade your kitchen appliances. Energy-efficient appliances not only look sleek and modern but can also help reduce your energy bills. Stainless steel appliances are a popular choice for a contemporary look.

Install a New Backsplash

A new backsplash can add a pop of color and texture to your kitchen. Choose tiles or stone that match your kitchen’s decor and are easy to clean. A stylish backsplash can become a focal point and enhance the overall aesthetic of your kitchen. Browse our tile catalog for inspiration.

3. Refresh Your Bathroom

Replace Fixtures

Upgrading your bathroom fixtures can have a big impact. Consider replacing old faucets, showerheads, and towel bars with modern, water-efficient options. This not only improves the look of your bathroom but also enhances its functionality.

New Flooring

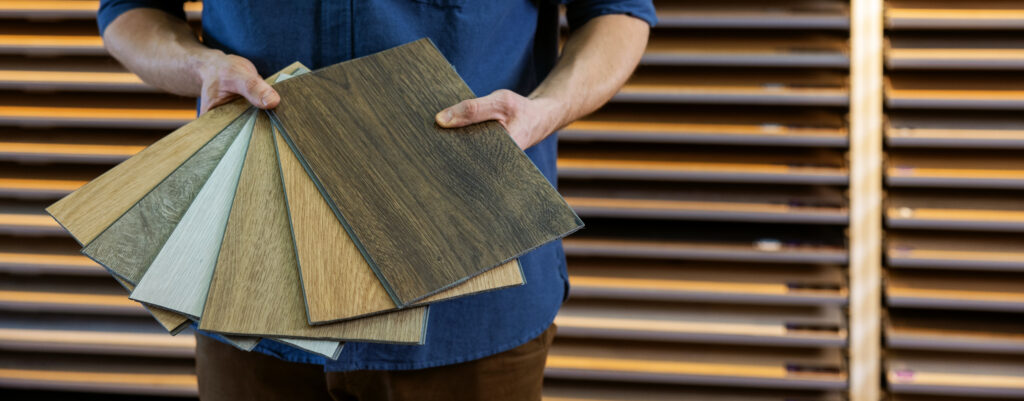
If your bathroom floor is outdated or showing signs of wear, summer is a great time to replace it. Choose durable, water-resistant materials like tile, stone or luxury vinyl. These options are available in various styles and can transform the look of your bathroom. Get started by checking out our flooring products on our website.

Add Storage Solutions

Clutter can make even the nicest bathroom feel cramped. Add storage solutions like shelves, cabinets, or vanity upgrades to keep everything organized. Stylish storage options can also serve as decor elements, enhancing the overall look of the room.

4. Transform Your Bedroom

Update Bedding and Curtains

Refreshing your bedding and curtains can instantly transform your bedroom. Choose light, breathable fabrics for summer and opt for colors and patterns that bring a sense of calm and relaxation. New curtains can also help control the amount of natural light entering the room.

Create a Feature Wall

A feature wall can add a focal point to your bedroom. Use wallpaper, paint, or even wood paneling to create a unique and stylish accent wall. This simple change can make a big impact on the overall design of the room.

Improve Closet Organization

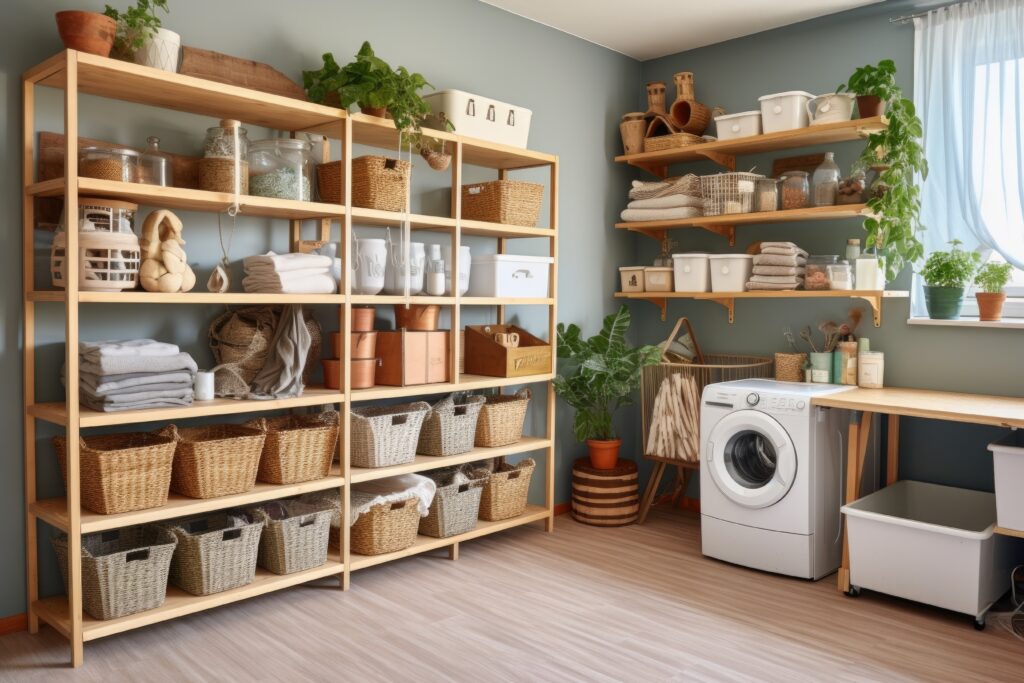
A well-organized closet can make your bedroom feel more spacious and functional. Invest in closet organizers, shelves, and storage bins to keep everything in its place. A tidy closet can also make your daily routine more efficient. Your laundry room is another great place to organize as well.

5. Upgrade Your Home Office

Ergonomic Furniture

If you work from home, upgrading your office with ergonomic furniture is essential. Invest in a comfortable chair, a spacious desk, and accessories like a monitor stand or keyboard tray. Ergonomic furniture can improve your productivity and overall well-being.

Decorate with Plants

Adding plants to your home office can create a more pleasant and productive environment. Plants improve air quality and add a touch of nature to your workspace. Choose low-maintenance plants like succulents or spider plants for easy care.

Enhance Lighting

Proper lighting is crucial for a home office. Ensure you have a good mix of natural and artificial light. Task lighting, like a desk lamp, can help reduce eye strain and improve focus. Position your desk near a window to take advantage of natural light during the day.

Summer is the perfect time to focus on interior renovation projects that can transform your home. Whether you’re updating your living room, modernizing your kitchen, refreshing your bathroom, transforming your bedroom, or upgrading your home office, these projects can enhance the beauty, functionality, and comfort of your living space. By taking advantage of the longer days and warmer weather, you can make significant improvements that you’ll enjoy for years to come. Happy renovating!

Tags:
Jan-9-2020

Pros and Cons of Wall-to-Wall Carpet

Posted by Carpets N More under Carpet, Flooring

Carpet is a timeless floor covering solution that homeowners and businesses continue to use today. In fact, carpet is one of the most comfortable and coziest options to add to a home. It comes in many different styles and can help add the element of texture to your space. While there are thousands of carpets available today, there are some general pros and cons to this flooring option. Understanding and knowing these factors can better help you make a wise and well-educated decision. To help, here are some of the general pros and cons of wall-to-wall carpet:

Pros

Comfort

Wall-to-wall carpet is typically chosen to add comfort to your room. In fact, carpet is one of the most comfortable options that you can add to your floor. When paired with thick padding, it is soft enough to help absorb sounds and falls without discomfort.

Many Options

No matter your design theme, there is a carpet style that can work. From different weaves and strands to colors and patterns, carpet has an endless range of options and styles to explore. This feature can be a great way to add character to your home’s design theme.

Insulation and Warmth

Walking around on tile or hardwood can be cold. Carpet works as an excellent insulator capturing heat. If you like to walk around your home barefoot, this flooring may be the best option for you.

Cons

Staining

While advancements in technology have improved carpet fibers, most carpets can still stain. It is risky to put carpet in a room where you will be eating or drinking or have the opportunity to spill liquids. Pet stains can also be tricky to remove. Even when removed from the surface, some stain can penetrate through the fibers into the padding and leave a foul odor.

Seams

Typically, carpet is made in twelve-foot rolls. This factor means any room over twelve feet will have a seam. No seam is invisible, though they can be difficult to see. The higher the pile is in the carpet, the more unnoticeable a seam may become.

Moisture Absorption

Carpet does not handle moisture well. Liquids can penetrate the fibers and begin to mold. It is best to keep your carpet away from wet rooms in your house like bathrooms or kitchens.

Carpet can come at many different price points. You can find it throughout the whole spectrum of pricing for your home. Typically, the more expensive carpets can come with more features like stain-resistance, nylon fibers, and even waterproofing. And for more information on Carpets N More‘s selection of carpet, please visit us here.

Choosing the right flooring for each part of your home is essential to making the layout work for your lifestyle. There are a lot of different materials out there, and each one has its pros and cons. Here are some popular flooring materials used in homes today and how they can benefit your living space, as well as some disadvantages they may pose:

Carpet

This material is excellent for living rooms and bedroom floors, where you want to add some warmth to a space while also creating a comfortable underfoot. Carpet protects the floors underneath and provides cushion to children, the elderly, and pets while providing a soft place to land in case of falling. Disadvantages are its lack of water-resistance, and the material needs to be vacuumed on a regular basis.

Vinyl

Vinyl flooring is a less expensive flooring choice that can stand up to a lot of foot traffic. It is available in a variety of colors and patterns and has the ability to reduce noise underfoot-which is good news if you have noisy children and pets! Disadvantages include the tendency to dent if it comes into contact with sharp objects, possibly fading in prolonged direct sunlight, and its inability to withstand extreme temperatures.

Stone

Stone flooring has always been popular mostly for foyer areas, but it is gaining more popularity in other places in the home-even the bathroom. Available in a variety of colors and textures, this material adds an earthy flavor to any room. Disadvantages of this flooring choice include the need for regular resealing to prevent water damage, a higher tendency towards scratching, and the need for constant cleaning to keep it in pristine condition.

Hardwood

Hardwood is a truly timeless flooring choice. Most homes have this material installed somewhere inside them. Bedrooms, hallways, and dining rooms are all popular places to have hardwood. Its natural origins give any space a down-to-earth look while adding class at the same time. Some disadvantages to hardwood are its tendency to warp in moisture-prone and high0humidity areas. Additionally, the installation also takes longer than most ready-to-go flooring choices and can be more expensive.

If you would like to learn more about any of these flooring choices, one of our expert sales associates would love to assist you. Call or visit us for more information!

Nov-6-2019

Tips for Choosing Bedroom Carpet

Posted by Carpets N More under Carpet, Flooring

Who does not love an inviting and comfortable bedroom made for a blissful night’s sleep? Sometimes, no other floor can compare to soft comfort that carpet brings. In fact, many homeowners prefer carpet in a child’s playroom or bedroom for overall comfort that it can provide. Plus, it can prevent injury from falls with its cushiony underfoot. There are many factors to consider when picking out carpet according to your lifestyle. To help you avoid making a costly mistake and protect your investment, we have included a few helpful tips for picking out the perfect carpet for your bedroom. Let’s take a look!

Carpet Type

At Carpets N More, we will ask you general lifestyle questions to educate and guide you to what type of carpet best suits your needs. That being said, it is important to educate yourself by researching the types of carpets online. This way you have a better understanding of the products that our sales representatives recommend.

Padding

Try not to buy the least expensive padding. The padding helps to absorb noise, adds an extra layer of comfort, and provides additional warmth during cold winter months. Also, keep in mind that a guest bedroom will not have as much traffic as a master bedroom; therefore, you can choose a thinner padding in rooms that are not used frequently.

Watch Your Budget

When shopping and budgeting for carpet, ask your Carpets N More sales representative to help you find a carpet in your price range. We want to help you find the carpet of your dreams at a price that agrees with your bank account.

Maintenance

If you have children and pets, you might want to stay away from shag and high-end carpets. Go for a carpet that is easy to maintain and clean. Stain-resistant carpets can help with accidental spills and makes overall carpet cleaning easier. Additionally, textured carpets and patterned carpets help to camouflage dirt, footprints and vacuum cleaner tracks. Only install cut pile and multi level-loop carpets in low to medium traffic areas since these types of carpet trap dirt and resist cleaning.

Warranties

Remember that carpeting carries many, many warranties. You will see five and ten-year warranties, matting and crushing warranties, wear warranties, and guarantees for stains and overall appearance. The better quality carpets will provide more coverage through warranties. Your Carpets N More professional will help with your questions regarding warranties.

At Carpets N More, we strive to provide expert service and educate our customers on their purchases. If you have any questions while you explore the different types of carpets, please do not hesitate to ask one of our sales representatives.

Oct-5-2019

Not All Carpets Are Alike

Posted by Carpets N More under Carpet

Carpet can be made of many different materials. Originally, wool was the most common application. Today, synthetic fibers have been engineered to make your carpet more durable, reliable, and easier to clean. However, not all carpets are made alike with polypropylene, nylon, polyester, and more being used today. Although, there are many benefits to having these typically less expensive textiles options.

Nylon

When dying the carpet, there are also many ways to apply color and durability. Solution-dyed nylons (SDNs) are favored by many flooring experts because their ability to be cleaned by 10% bleach concentrate. Carpets can have the dyed applied to the top layer of the filament or homogenous throughout the pile.

Imagine a radish and a carrot. When you cut through a radish, the top layer is red, and the inside is white, whereas a carrot is orange all the way through. SDNs are like carrots. Each fiber is pre-dyed before being tufted yarned onto the backing. This makes the color all the way through and not faded or just printed on the carpet, allowing the color to maintain longer and be more durable to strong cleaning products like bleach.

Olefin

Do not feel limited to just SDN carpets because nowadays, we have also engineered many carpet cleaners other than bleach! Polypropylene (olefin) carpet is highly desired because of its wool-like imitating features. Olefin may not have the “bounce back” feature you have in other carpets but is extremely water-resistant and can be applied outside. It does, however, like to attract oils and makes it hard to clean any oil-based stains.

Polyester

When comparing stain resistance properties, polyester carpet is superior over nylons and olefins. It can be compiled of recycle products and is known for being excellent at retaining texture retention. Polyester carpets are another great option with a wide variety in their color palette.

With the carpet engineering evolving through pile, texture, loop, and dyes, there is a lot going into the manufacturing of each carpet. Find a carpet that fits your design taste and that you like how it feels. Knowing how each carpet can respond to stains and foot traffic can help you make your decision feeling confident.

Sep-4-2019

Shaw Floors’ Waterproof Carpet

Posted by Carpets N More under Carpet

New carpet is a great way to transform your home; however, most homeowners are aware that life’s unexpected accidents are carpet’s enemy. When a beverage is spilled, or an animal urinates on your carpet, it soaks through and gets absorbed into the pad. This is how odors can be trapped in your home even after cleaning the carpet thoroughly because the origin of the smell is deep within the pad. Some companies provide Spillguard padding or water-resistant padding to help prevent this issue, but Shaw has gone a step further and has a solution to stop this issue at the source. Shaw’s Lifeguard Waterproof Carpets have an engineering backing the prevents the spills or messes from getting through the first layer and into the pad. This means the liquid is stopped at the source and not absorbed into your pad or subfloor to hold those dreaded odors.

Stress-Free Home 

How many times have you heard people, who have had new carpet installed in their living rooms, make the “new house rule” meaning no animals, no children, no beverages, no shoes, etc.? With Shaw’s Lifeguard Carpet, you can have a stress-free environment, knowing your new carpet is safe from spills and accidents. Transform your home into a more comfortable, inviting room for your family and friends, not with the underlying fear of messes. 

Spill-Proof 

The science of lifeguard’s spill-proof backing is not where this engineering stops. Shaw has incorporated in their R2X protection, which allows spills and stains to stay on the surface of the carpet longer than normal carpets. This means you have time before it will get to the waterproof backing. Shaw’s Lifeguard carpet has also been put through one of the most challenging waterproof tests. They installed Lifeguard Carpet at the bottom of a pool to withstand against 25,000 pounds of water. Shaw loves going above and beyond to let their customers rest assure that their bold claims are true. 

Why Wait?

All in all, Shaw’s Lifeguard Waterproof Carpet is one of the best carpets on the market today to stand strong against life’s unexpected accidents. It will keep your home smelling better and looking great for years to come. This high-performance carpet has revolutionized the industry, and with all the great patterns and designs, it can also revolutionize your home.

Jul-29-2019

DIY Guide for Installing Carpet | Part Four

Posted by Carpets N More under Carpet, Installation

Homeowners will need to understand that almost all medium to larger rooms will have a seam. Standard carpets come twelve-foot-wide sizes, so some seams are inevitable. Seaming is a task that takes a keen eye and extreme level of scrutinizing. No seam will be invisible, but creating the perfect seam should make it very hard to see in a glance. Today, we are going to focus on seaming and how it do it yourself. Let’s take a look!

Seaming

If your space is over twelve feet wide, you will need to create a seam on your carpet.  First, measure your room and make your excess cuts.  You will most likely be having cross seams as well to complete your room.  Your carpet must all lay the same direction, so pay attention to how you unroll it before cutting!  Use your row finder to run a row down the carpet with-the-grain.  Using your top cutter blade, cut along your row on both pieces of carpet to create a perfectly straight edge.  Your top cutter can put the blade closer or further from the carpet, so make sure you put the correct distance before cutting.   Create your rowed cuts.  

For your cross seams, you should flip your carpet over and cut from the back.  Using the cut edge, you just created, use your right angle and straight edge to make a perfect 90-degree cut.  Repeat this process for all your cross-seams.  

Once you have made all your seam cuts, roll your seam tape out underneath all the areas you will be seaming.  Your seam tape may have a line down the middle to help keep you perfectly aligned.  Allow this line to run directly down your seam.  Plug in your seam iron into your extension cord and allow it to heat up for seaming.   Pull back your seam and put your iron directly on seam tape and let it heat. Start with all your cross seams and then move into your big seam. Have your carpet kicker nearby with the teeth out and ready to use.  

As you heat your seam tape move down the carpet and meticulously line your carpet’s backing up to begin seaming.  Keep your carpet’s fibers away from the hot seam tape as you go.  Using your carpet tracker and seam weight, follow behind yourself and track the seam and apply weight – this must be a strict procedure, or it will show in the finished product!  If your carpet shifts, use your kicker to move it back in place, carefully!

Seaming carpet takes practice and can be challenging, depending on the design of each carpet. Patterns, textures, backing, and even pile loop can play a significant role in how visible a seam will be. If you missed the rest of our series, be sure to check them out here.

Tags:
Jul-25-2019

DIY Guide for Installing Carpet | Part Three

Posted by Carpets N More under Carpet

One of the main sought-after features of carpet is its soft, warm comfort. The carpet padding you install under your carpet plays a significant role in your flooring’s comfort. Today, you will learn about carpet padding as well as how to install it in your home. Let’s take a look!

Padding

Now that your room is cleaned and prep, it is time to put down your new padding.  First, roll out your padding in the room.  Carve it right against the inside of your tackless strip using your carpet blade.  Padding can easily wear down your blade, so be prepared to switch your blades multiple times during this process.  A fresh blade will always make a clean cut and prevent tearing in the padding while cutting.  Use your pad stapler to secure your padding.  Be generous to ensure the padding will not move when you lay down your carpeting. Your padding will probably come in six-foot rolls; therefore, you will have seams.  Staple as close to the seam as possible all the way down put stable about every six inches.  Use your duct tape or masking tape to secure all your seams and tape the padding to the tackless strip (while allowing tacks to still breakthrough).  If your room is over concrete, you can only secure your padding with the tape and by adding pad glue.  Roll your padding and apply glue under your padding to secure it down.  You can pour your glue in a zig-zag spread and do not need to spread the glue.  For padding closets or smaller spaces, measure your area and pre-cut your pad for the installation allowing for a little access padding to be cut of when you carve into your padding.

Laying Your Carpet

Decide what way you want your carpet to lie in the room.  Carpet is directional and has a cross-grain, with-the-grain, and against-the-grain direction.  When you lay your carpet, you will need to make sure your carpet you seam is running the exact same direction.  Remember, this is best left for professionals, and seaming can be quite challenging in larger rooms.  Roll out your carpet in the room.  Choose one wall and make your carpet flush against it.  For your excess carpet, roll it back and cut the carpet to remove the excess, so it fits cleaner in the room.

As you can see, there are many steps to having your flooring installed perfectly. Each step serves a crucial part of the end-product. Check out Part 4 to finish off our series.

Tags:
Jul-23-2019

DIY Guide for Installing Carpet | Part Two

Posted by Carpets N More under Carpet

The comfort and style of carpet will transform your home. However, there is a lot that goes into carpet installation that you may not know. Installing carpet is a laborious task and should be left for the professionals. We put together a simple walkthrough to allow you to have a better understanding of what goes into each installation. From Part One, you know what tools you will need for the job. Now, with your tools ready, you can begin your prep work in the room.

Prep

First, you will need to remove all the furniture from the room.  Take your curtains down and use your screwdriver to remove any floor vents or floor outlets. You need to remove them and store them during your installing.  Next, remove the existing carpet and padding.  Leave the tackless strip around the room down when taking up the carpeting.  If the room did not have pre-existing carpet, install a tackless strip around the perimeter of the room.  If you have a very broken or dry rotting tackless strip in your room, use your pry bar to remove carefully and replace with new strip using your hammer.  Leave a half-inch space from the wall to allow for tucking the carpet.  

For smooth take-up of carpet, cut the old carpet into smaller three-foot strips.  You can roll the carpet and pad up together or separately if you choose.  Use your tape to tape up the old carpet rolls and remove them from your room.  Now you will need to use your floor scraper to remove any access staple and padding in the ground.  Broom the room thoroughly to remove all dust and padding and sweep into your dustpan.  

Like any project, the prep work is a very crucial part of the end product’s success. Do not take short cuts on getting the room cleaned and empty. Having a well-prepped space will allow the installation process to flow easier. Your carpet is now ready to be installed in your home. Check out Part 3 to know exactly what goes into the installation process in your home.

Tags:
Jul-18-2019

DIY Guide for Installing Carpet | Part One

Posted by Carpets N More under Carpet

Nothing can completely transform a room’s ambiance and feel quite like carpet.  Carpet can change your room’s appearance, style, and comfort. But not all carpets are made the same, and each unique design and pattern gives you the opportunity to pick the perfect solution for tailoring your carpet to your home’s design style.  

Installing carpet can be quite challenging as well as take a toll on your body; however, if you are interested in how the process is done, we put together a step by step guide to break down for you.  Some carpet is glued down while others may be installed over a pad.  For this article, we will be primarily focusing on traditional, residential carpet installed over padding.  Remember, carpet installation is best left for the professionals and can be quite challenging, but this series will show you all you need to know on how carpet is installed in a home.

Supplies

Most carpet comes in twelve-foot rolls to make it easier to install as well as transport, yet unfortunately, not all rooms are exactly twelve feet wide or smaller-this means you will need to seam your carpet to get the perfect wall to wall appeal.  Here is a list everything you would need to have to install your carpet in your home:

  • Carpet of your choice
  • Padding
  • Tackless Strip
  • Floor Scraper
  • Broom and Dust Pan
  • Pry Bar
  • Measuring Tape
  • Hook Knife
  • Carpet blade with many replacement blades
  • Screw Driver
  • Hammer
  • Pad Stapler and Staples
  • Duct tape or Masking Tape
  • Carpet Kicker
  • Carpet Stretcher
  • Extension Cord
  • Seam tape
  • Seam Iron
  • Seam Weight
  • Carpet Tracker
  • Straight Edge
  • Right Angle
  • Top Cutter Blade
  • Row Finder
  • Wall Trimmer
  • Knee Pads
  • Chisel or Carpet Wall Tucker

There are a lot of tools and time involved in installing carpet. It is best to leave this task for professionals. But once you have all your supplies ready, you can begin your take up process and prep work. Check out DIY Guide for Installing Carpet | Part Two to find out more!

Tags: