Holiday Hosting Essentials: Flooring Tips to Prep Your Home for the Season
With the holiday season fast approaching, it’s time to get your home ready for entertaining family and friends. When living in an area known for its unique mix of climate and lifestyle, choosing the right flooring can set the stage for a welcoming and memorable holiday environment. Here’s your guide to making your floors holiday-ready, from style tips to durability and easy maintenance.
1. Elevate Your Style: Choosing Flooring That Complements Your Decor
Selecting the right flooring can help tie together your home’s decor, offering the perfect blend of elegance and resilience. Consider these top flooring styles that work well in spaces where both holiday gatherings and day-to-day living come together:
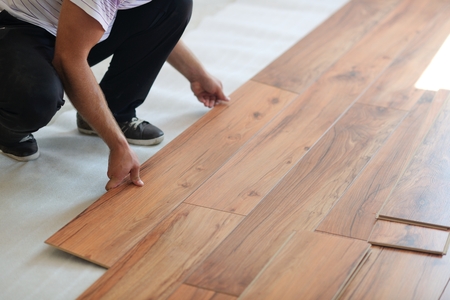
- Hardwood Flooring: Hardwood floors add a timeless elegance to any space. Available in various finishes and wood species, hardwood can complement holiday decor beautifully while bringing warmth and sophistication to rooms used for gatherings.
- Luxury Vinyl Plank (LVP): For a stylish, budget-friendly option, LVP offers the look of hardwood with added durability—perfect for high-traffic areas. With resistance to water and scratches, it’s an ideal choice for areas where you’re hosting guests or entertaining.
- Tile Flooring: Tile flooring’s versatility makes it a great option for the holiday season, whether you prefer the look of natural stone, marble, or ceramic. Tile not only withstands heavy use but also gives you room to get creative with design. Opt for finishes and patterns that enhance your holiday aesthetic while fitting seamlessly into your home year-round.
2. Plan for Durability and Easy Maintenance
With extra foot traffic and the possibility of spills, durability is essential. By selecting flooring that’s as practical as it is stylish, you can worry less about maintenance during the busy season.
- High-Durability Options: Hardwood, LVP, and tile all rank high in durability, but certain finishes make them even more resilient. Water-resistant LVP and specially treated tile or hardwood finishes provide peace of mind for high-use spaces.
- Scratch Resistance: Homes with pets or children will benefit from scratch-resistant flooring like LVP or durable ceramic tiles, making them ideal for spaces where guests will gather and celebrate.
- Simple Cleaning: Hardwood and LVP floors require little upkeep, needing just a quick sweep or mop to stay fresh. Tile, when sealed, also cleans easily. For holiday hosting, choosing floors with dirt- and stain-repelling finishes keeps your prep time manageable.
3. Comfort with Style
Even in warmer regions, winter calls for a cozy, inviting atmosphere. Flooring can add comfort underfoot and warmth to any room, making it ready for seasonal festivities.
- Carpet for Cozy Comfort: Nothing says cozy like carpet, especially in living rooms or bedrooms. Plush, stain-resistant carpets provide warmth and comfort underfoot, creating a soft surface that’s perfect for seasonal gatherings.
- Radiant Heating Options: Radiant floor heating works wonders for those chilly winter evenings, especially when installed under tile or hardwood. Imagine the comfort of stepping onto warm floors in areas where you spend the most time during the holiday season.
- Accent with Area Rugs: Area rugs add an extra layer of warmth and protection. Not only do they tie rooms together aesthetically, but they’re also practical for high-traffic areas like living rooms and dining rooms, protecting your floors and adding a pop of seasonal color.
4. Prepping for Holiday Guests: Cleaning and Maintenance Tips
A little maintenance before guests arrive ensures that your floors look fresh and inviting. Taking the time to clean and prep can make a big difference when hosting.
- Deep Clean for a Fresh Start: A deep cleaning can make your flooring shine for the holidays. A professional polish for hardwood floors restores their luster, while carpets benefit from a deep clean to lift out any buildup from previous months.
- Protective Finishes: If you have hardwood or tile floors, consider applying a protective finish. Not only does this protect against spills and stains, but it also gives your floors a refreshed, polished look just in time for the season.
- Floor Mats at Entrances: Place mats at entry points to keep out dust, sand, and moisture. This extra layer of protection preserves floors, making cleanup easier, especially in busy entryways or common areas.
5. Flooring Fit for Kids and Pets
The holidays often mean guests with kids and pets, making it essential to choose flooring that can handle the extra excitement and potential messes.
- Waterproof Flooring Options: LVP and tile are both waterproof, making them a top choice for homes with kids or pets. From accidental spills to pet messes, waterproof flooring handles it all without hassle.
- Stain-Resistant Carpeting: If you prefer carpet in your living spaces, look for stain-resistant options. These carpets are designed to withstand spills, making cleanup simple and keeping carpets looking fresh.
- Rug Layers for Added Protection: Adding washable area rugs over your flooring in high-use areas keeps it protected from everyday wear and tear. Look for durable, non-slip rugs that can handle busy gatherings and stay in place for the season.
6. Decor That Protects Your Floors
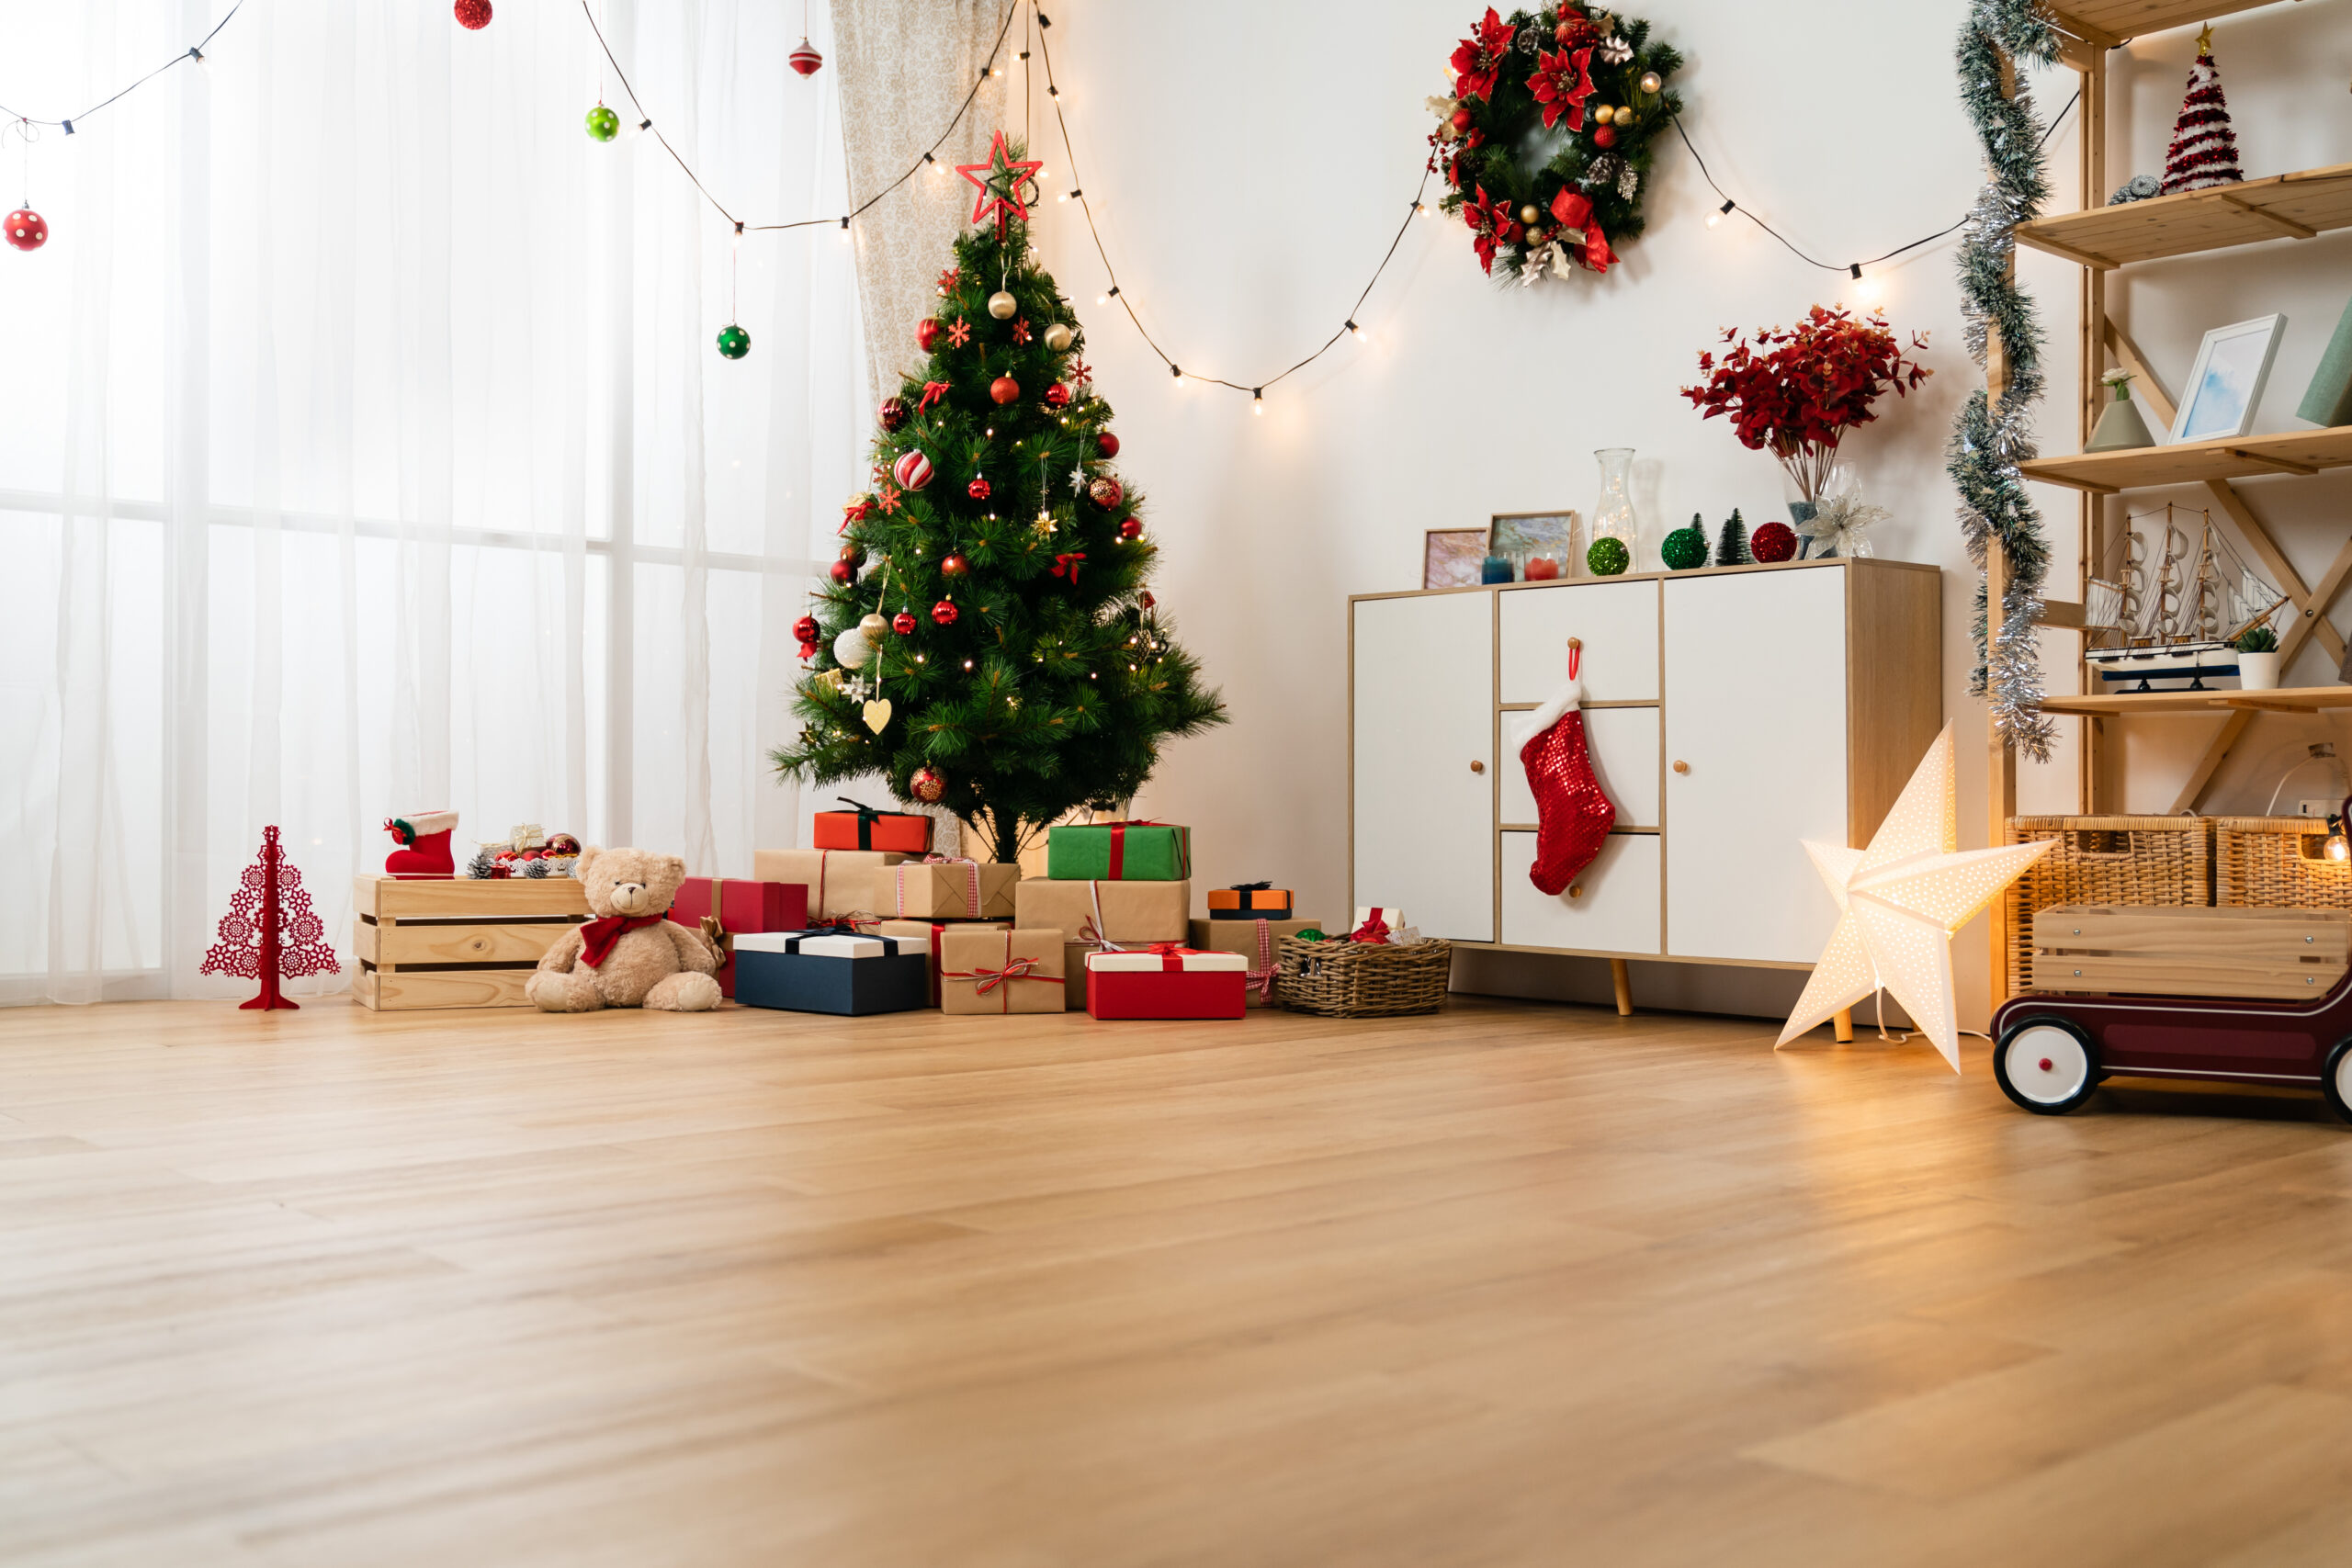
Holiday decor adds magic to the season, but certain decorations can be rough on flooring. Here’s how to protect your floors while decking the halls:
- Tree Mats for Christmas Trees: Placing a mat under the tree protects your floor from water spills and pine needles. For real trees, a waterproof mat prevents moisture from damaging hardwood or carpet underneath.
- Furniture Pads for Rearranged Spaces: If you’re moving furniture to make more room for guests, use furniture pads under chairs, tables, and couches to avoid scratches and scuffs on hardwood or tile.
- Mindful Holiday Lights: Be cautious about placing holiday light cords along the floor or under rugs. Avoid pinching cords under heavy furniture, and keep cords out of high-traffic areas to prevent wear on both your floors and your holiday lighting setup.
7. Quick and Easy Post-Holiday Cleanup
After all the festivities wind down, your floors might need a little extra TLC to keep them looking great.
- Spot Clean for Spills: For carpet, blot spills with a clean cloth and use a carpet cleaner as needed. For hardwood and tile, a mild cleaner and mop will take care of any residue left from holiday activities.
- Wash Area Rugs: Washable area rugs can be refreshed with a quick wash, especially if they were placed in high-traffic areas. Machine-washable options make cleanup a breeze and keep rugs looking good for the next season.
- Inspect for Damage: Once things have settled, take a moment to inspect your floors for any scratches, stains, or scuffs that may have occurred. For hardwood, a touch-up kit can help with minor scratches, while specialty carpet cleaners tackle stains. Regular post-holiday maintenance ensures your floors stay in top condition.
Holiday-Ready Flooring Brings Style and Function Together
Preparing your floors for the holidays doesn’t have to be overwhelming. With the right choices, your flooring can add elegance and durability to your home, setting the tone for an inviting and memorable season. From hardwood and LVP to plush carpet and durable tile, there’s an option for every room and every style.
This holiday season, let your floors make a lasting impression, adding beauty and resilience to all of your celebrations. A well-prepared home allows you to focus on what matters most—celebrating with family and friends. So start planning now, and enjoy a holiday season where your flooring is as ready as your holiday spirit! Click here to explore options perfect for every celebration!