Elevate Your Home: Flooring Trends to Inspire Your 2025 Transformation

The start of a new year brings fresh opportunities to upgrade and redefine your home. Flooring, often seen as a functional component, has emerged as a key design element capable of transforming your space. The right flooring not only adds aesthetic value but also enhances comfort, durability, and practicality.
As 2025 begins, new flooring trends are blending timeless appeal with innovative solutions. Whether you’re drawn to cozy textures, resilient materials, or statement-making designs, there’s an option for everyone. Let’s explore the possibilities for reimagining your home with the year’s top flooring ideas.
1. The Cozy Comeback of Carpeting
Once overlooked in favor of hardwood or vinyl options, carpeting is experiencing a resurgence. Today’s carpets are designed with a focus on sustainability, luxury, and practical benefits. Soft textures and soothing colors are key trends for 2025, making carpet an inviting choice for bedrooms, family rooms, and other cozy spaces.
Carpet is also favored for its insulating properties, helping to maintain a comfortable temperature during colder months and reducing noise in high-traffic areas. Advances in carpet fibers and treatments mean modern carpets are more durable and stain-resistant than ever.
What’s Trending:
- High-pile and plush textures that create a warm, luxurious feel underfoot.
- Neutral and earthy tones such as stone gray, soft beige, and pale taupe.
- Sustainable materials like wool or recycled fibers to align with eco-friendly lifestyles.
Practical Considerations: In addition to its aesthetic appeal, carpet is an excellent choice for homes with young children or seniors, as it provides a softer, safer surface for falls.
Design Tip: To elevate your space, layer area rugs over carpets. Opt for contrasting colors or bold patterns to create visual interest without overwhelming the room.
2. Luxury Vinyl Plank (LVP): Beauty Meets Durability
Luxury Vinyl Plank continues to dominate the flooring market in 2025. Its incredible versatility allows homeowners to enjoy the look of hardwood or stone without the maintenance challenges these materials can bring. LVP’s resistance to scratches, moisture, and everyday wear makes it an ideal solution for families with children, pets, or high-traffic households.
One of LVP’s standout features is its ability to mimic natural materials so convincingly that it’s nearly indistinguishable from the real thing. Homeowners love its combination of practicality and aesthetics.
Why Choose LVP:
- Perfect for moisture-prone areas like bathrooms, kitchens, and laundry rooms.
- Available in a wide variety of finishes, including distressed wood, matte stone, and high-gloss looks.
- Durable enough for commercial use, making it a smart investment for long-term wear.
Creative Application: LVP can be combined with area rugs to define living spaces in open-concept homes. This pairing creates cozy zones while maintaining the visual flow of the flooring.
Styling Insight: Use LVP throughout an open-concept floor plan to create a cohesive look. For a unique touch, consider laying the planks in herringbone or diagonal patterns.
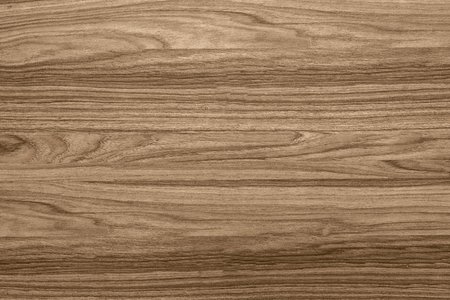
3. Engineered Hardwood: Timeless with a Modern Twist
For those who love the classic look of hardwood but need a more durable and versatile option, engineered hardwood is the answer. This flooring type features a top layer of natural wood over a multi-layered core, which provides greater stability in areas with fluctuating temperatures or humidity.
In 2025, lighter wood tones such as white oak, ash, and light maple are highly sought after. These finishes give spaces an airy, modern feel while maintaining the timeless beauty of natural wood.
Key Benefits of Engineered Hardwood:
- Resistant to warping and shrinking, making it suitable for basements and kitchens.
- Compatible with underfloor heating systems for added warmth and comfort.
- Easier to install than solid hardwood, often allowing for floating floor installations.
Where to Use It: Engineered hardwood is versatile enough for nearly every room in the house, from living rooms to hallways. Its durability makes it a great choice for high-traffic areas.
Pro Tip: Pair light-toned engineered hardwood with darker furnishings to create an elegant contrast, or keep it minimal with neutral décor for a Scandinavian-inspired look.
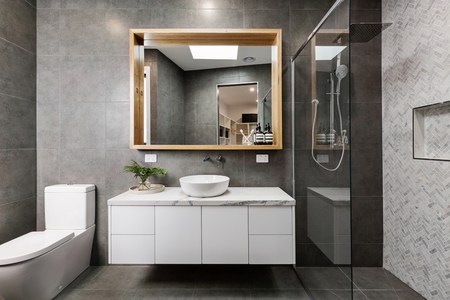
4. Bold and Beautiful Tiles for Every Room
Tiles are no longer confined to kitchens and bathrooms. In 2025, homeowners are using tiles as a bold design statement in nearly every room of the house. From colorful geometric patterns to textured natural stone finishes, the possibilities are endless.
Tiles are particularly popular for their durability and ease of maintenance. They’re an excellent choice for entryways, mudrooms, and even living rooms when paired with radiant floor heating.
Trending Tile Styles:
- Geometric Patterns: Create a dynamic, modern vibe with hexagons, chevrons, or intricate mosaics.
- Large-Format Tiles: Oversized tiles are perfect for achieving a clean, seamless look in open spaces.
- Natural Stone Looks: Porcelain tiles that mimic marble or slate add luxury without the upkeep of real stone.
Creative Application Ideas:
- Use textured tiles to create a feature wall in a bathroom or living area.
- Incorporate colorful tiles into a backsplash to add personality to your kitchen.
- Choose matte-finish tiles for a sleek, contemporary aesthetic.
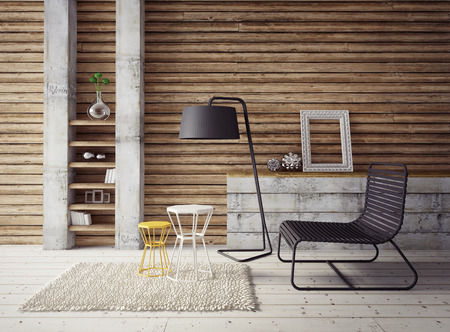
5. Nature-Inspired Flooring: A Connection to the Outdoors
Flooring that brings the beauty of nature indoors is a major trend for 2025. Whether through wood-look planks, stone-inspired tiles, or earthy color palettes, this style emphasizes tranquility and connection.
Nature-inspired flooring works particularly well in spaces designed for relaxation, such as bedrooms and living rooms. It pairs beautifully with other natural elements like houseplants, wicker furniture, and soft textiles.
Top Choices:
- Wide-plank wood flooring with natural knots and grain for a rustic touch.
- Porcelain tiles in slate or travertine finishes for durability and elegance.
Design Tip: Combine nature-inspired flooring with large windows or skylights to maximize natural light and enhance the organic feel.
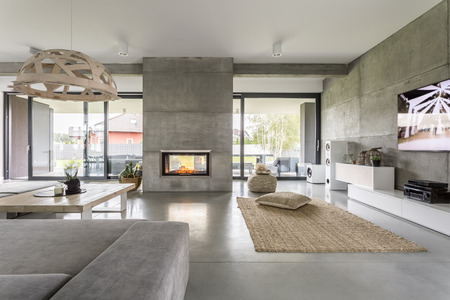
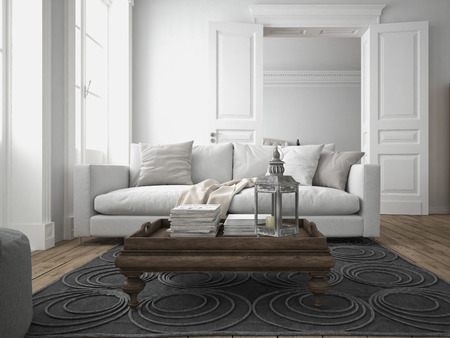
6. Area Rugs: A Layer of Comfort and Style
Area rugs are an essential design element for 2025, offering both practical and aesthetic benefits. They’re ideal for defining spaces in open-concept homes, adding warmth to hard flooring, or introducing bold patterns and colors.
Where to Use Area Rugs:
- Anchor your living room seating area with a large, plush rug.
- Place a runner in a hallway or entryway to protect floors and add a welcoming touch.
- Use an area rug under your dining table to delineate the space and protect your floors.
Pro Tip: Experiment with layering rugs of different textures, such as a jute rug paired with a soft, patterned overlay.
7. Maintenance Tips for Long-Lasting Floors
No matter which flooring type you choose, proper care is essential to keep it looking its best. Routine maintenance can help prevent wear and extend the lifespan of your investment.
General Care Tips:
- Vacuum carpets regularly to remove dirt and allergens.
- Use pH-neutral cleaners on hardwood and LVP to prevent damage to finishes.
- Seal tile grout periodically to maintain its appearance and durability.
Seasonal Advice: In winter, place mats at entryways to catch snow and debris. For added protection, use boot trays to contain wet shoes and boots.
Transform Your Space in 2025
Your flooring is more than just a surface—it’s the foundation of your home’s design. Whether you’re drawn to the cozy appeal of carpet, the durability of luxury vinyl, or the timeless beauty of hardwood, the right flooring can elevate your space and reflect your personal style.
Visit our showroom to explore these trends and discover the perfect flooring for your home. Our experts are ready to help you create a space that’s stylish, functional, and uniquely yours.s it is beautiful, setting the stage for a home you’ll love in 2025.