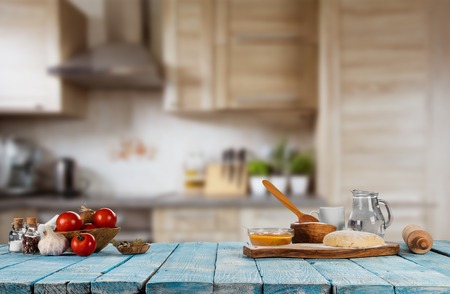
Things to Consider During a Kitchen Remodel

You have decided, committed, and guess what, you are doing it! You are remodeling your kitchen after much anticipation and talk about doing it for some time now. Before you jump right into the construction, there are a couple things you will want to consider. We know, you are super excited, but we encourage you to take five minutes to read these five questions. You may find that they really helped you in your decision process.
Who are you doing this for?
You may be like “what type of question is that?” But what we mean by that is, are you remodeling for yourself or are you selling the home after you renovate it? Kitchen remodels can be extremely expensive and time consuming, not to mention you will not have a place to cook or eat for the next couple of weeks. If you are listing your property after the remodel, do not go overboard! A lot of homeowners get caught up in the remodel and end up spending more money than they will make from selling it. If you plan on selling, always keep in mind your return-on-investment and only update where needed.
What are you doing yourself?
There are definitely some factors in the kitchen that you can do yourself. Little things that guests will never realize may be a lifesaver on your budget. Look around your kitchen and take note of the areas that you can do yourself.
Do you need it?
Sure, if we could spend whatever we wanted on a kitchen, we could easily blow through three times our budget, but we are trying to stick to a reasonable amount of money. Instead of going all out on top-of-the-line appliances, ask yourself “do I need it?” You can find greatly discounted appliances at an appliance outlet store. They may have a couple of scratches or dings, but you will pay a fraction of the price for nice looking appliances.
Does it flow?
You are remodeling your kitchen, now is the time to make changes to things that do not work. Think about the functionality of your kitchen and if you are happy with it, move on, but if you are not, talk to your contractor.
Will it be in style in 10 years?
Trends come and go quite fast. Do not be left behind with a too trendy kitchen. Try to incorporate some safe designs. If you must have a bold kitchen, be aware that you may have an outdated kitchen in a couple of years. Remember that a design can have a happy balance of trends and timeless pieces. You can meet in the middle to guarantee a longer lifespan.
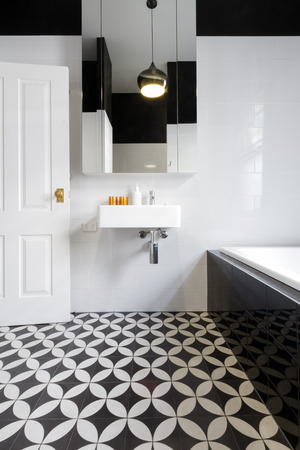
The main thing to focus on during a kitchen remodel is, you guessed it, the flooring. Flooring can make such an impact on a homeowner’s life without them realizing it. Stop in today and browse through our wide flooring selection. From backsplashes to floors, we have it all, and we look forward to working with you on your next project!