online poker

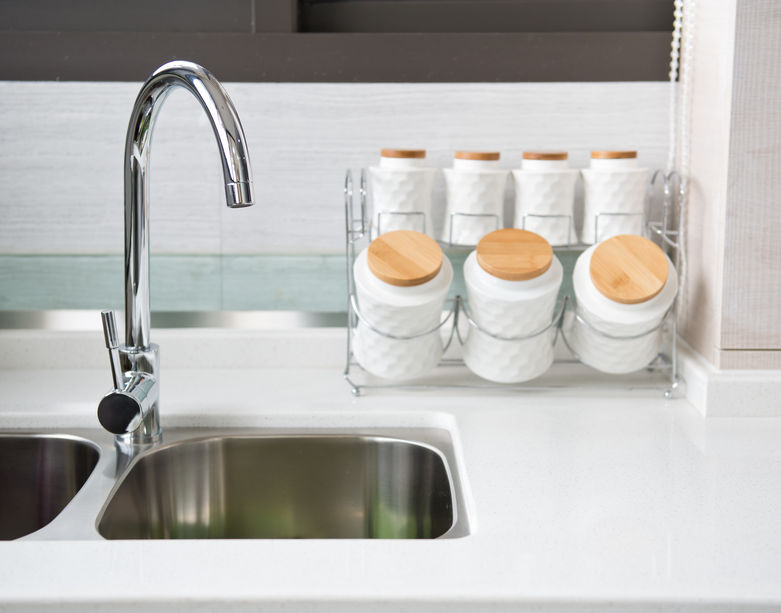
Stainless steel sinks are very popular among commercial and residential applications. However, every type of sink comes with its own sets of pros and cons. Stainless steel sinks are very versatile and low-maintenance. So if you are considering a stainless-steel sink for your own home, you are making an excellent selection. However, there are some things that you may want to know before going and investing in one of these sinks. Here is a break down of some of the most common terminology and benefits of having a stainless-steel sink:

Versatility

There are many reasons why homeowners and businesses alike love stainless-steel sinks. They are incredibly versatile and can be very low-maintenance. Plus, stainless steel is heat- and stain-resistant, which can allow you to place hot pans or sharp objects directly into your sink. These durable sinks have an extremely long-life expectancy as well, with little maintenance. However, if not cleaned properly, they can collect water spots. These eco-friendly sinks are typically made from recycled materials, which can make them more affordable than other sink options like granite or marble. Stainless steel is also very easy to disinfect, which can prevent the spread of bacteria and mold in your sink. While extremely durable, there are different qualities to stainless steel sinks. A low-quality sink may be more prone to denting or having an echoing sound when doing dishes. While aesthetically pleasing and complementary to any other stainless-steel appliances in your kitchen, these sinks have a very limited color palette of options.

What to Know

There are several terms you will start to notice when browsing the market for a stainless-steel sink, including grade, gauge, and production.

Grade

The grade of the sink is referring to how much chromium and nickel are used in the steel. If you see a grade of 18/8, this is referring to that 18% of the stainless steel contains chromium, while 8% is nickel. Marine-grade and surgical-grade are usually 18/10 grade stainless steel.

Gauge

The gauge of the stainless steel is referring to the density. The lower the gauge, the thicker the stainless steel will be. If you buy a high gauge sink like 24 or 22, the stainless steel is less thick. This factor can make it more susceptible to denting.

Stamped or Folded

There are two ways in which the stainless-steel sinks can be formed. When they are stamped, the metal is heated up and pressed into the shape of the sink. This process can make for more vulnerable edges because the metal has been stretched. You can also have a stainless-steel sink manufactured by being folded. This process is when the steel is cut into sheets, folded, and molded together.

Stainless-steel sinks are very versatile. They can be used in many applications while helping you get the best bang for your buck. Research and explore the different options and layouts of sinks available to see which style is best tailored to your needs.

Feb-25-2020

Finding the Right Kitchen Floors

Posted by Carpets N More under Flooring, Kitchen and Bath

The kitchen is the heart of the home. So, in many kitchen remodels, this can also be one of the most stunning rooms. Kitchens offer a wide variety of appliances, cabinets, countertops, and other investments that enhance the overall feel and look. When designing a kitchen, flooring is an option that will quickly come to mind. While many homeowners love the look of traditional hardwood flooring, it is typically not practical for kitchen application. Instead, you should look for a floor that can withstand spills or accidental drops onto the ground. This criterion makes hardwood very unpractical for the kitchen. However, have no fear because we put together some other excellent options to consider in your home.

Tile

Tile is excellent for most kitchens. Tile offers a versatile flooring option that is not only waterproof but extremely visually appealing as well. Choosing tile is one way to complement your countertops or backsplashes in your kitchen. Plus, tile is a luxurious flooring option that looks great in many kitchens and is extremely equipped for the job at hand.

Sheet Vinyl

Sheet vinyl has come a long way in the industry. We are seeing more diverse patterns than ever before with tile-like or hardwood-like selections. Plus, sheet vinyl can be cut to the size of your kitchen. However, you should be aware that it may have seams. Yet, some sheet vinyl offers a cushioned padding which can make your flooring soft and hold warmth in your kitchen. This factor is great for homeowners who may expect to drop dishes on the ground or have children.

Luxury Vinyl Planking

One of the most versatile flooring options on the market today is LVP. LVP is a vinyl planking system that is 100% waterproof. They come in many styles that can highly replicate that desired hardwood look. In fact, LVP is becoming one of the most common flooring options being used in modern design. Scratch-resistant, easy to clean, and durable, this floor is perfect for daily kitchen tasks.

Every flooring can come with its own sets of pros and cons. Any of these floorings can be great in your kitchen. Ask your sales representative for more information about the products that interest you, and for more great tips and tricks, make sure to subscribe.

Jan-29-2020

Reasons Why You Should Install a Kitchen Island

Posted by Carpets N More under Uncategorized

Are you planning a kitchen remodel? If so, there is no doubt that you are probably considering having an island installed in your kitchen. In fact, believe it or not, an island is one of the most sought-after features during a renovation project. A well-designed island that is proportionate to the size of the kitchen can provide a smooth workflow while making cooking and dining comfortable. You will even find that installing a kitchen island can enhance the space.

Does Your Space Allow for an Island?

When it comes to installing a kitchen island, you might be concerned that your kitchen is not big enough. However, it is important to remember that islands are not a “one size fits all” feature. Even if you are working with a smaller space, that does not mean that you will not be able to install an island. In fact, there are numerous ways a contractor can make it work since kitchen islands are built and tailored according to the design and size of the kitchen. In fact, most companies will customize a kitchen island with reduced depth or height to fit the dimensions of the space.

What Is the Clearance Zone?

An additional factor that you will have to consider when having an island installed in the kitchen is how many people live in your home and how often they use the space. This factor is essential because you will want to have adequate room for everyone to navigate the area. This is called the “clearance zone.” A practical distance from the clearance and the edge of the countertop is at least three feet. This spacing allows for free and safe movement around the island.

Consider a Tailor-Made Kitchen Island

If you decide to have your kitchen island built from the ground up, you can design it to be much more efficient by having drawers, extra storage, and even built-in seating. In fact, your kitchen island can be completely customizable to your lifestyle and space.

Fitting an Island into Small Kitchen

As previously mentioned, kitchen islands vary in size and shape. A fixed island should be at least 40 by 40 inches. Although it sounds small, these nifty islands still provide a good chunk of workspace, and you will still have the option of integrating some of your favorite appliances on the island.

All in all, kitchen islands are a fantastic feature that you may want to incorporate in your kitchen remodel. They provide an additional workspace with extra storage and seating opportunities.

What do you think about kitchen islands? We would love to hear your thoughts below in the comment section.

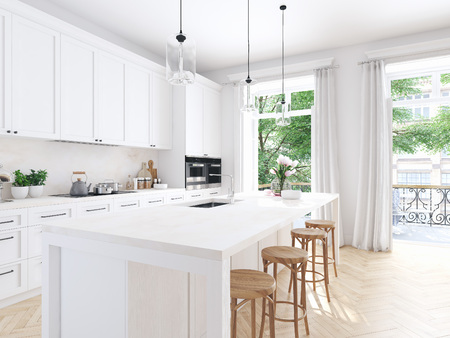
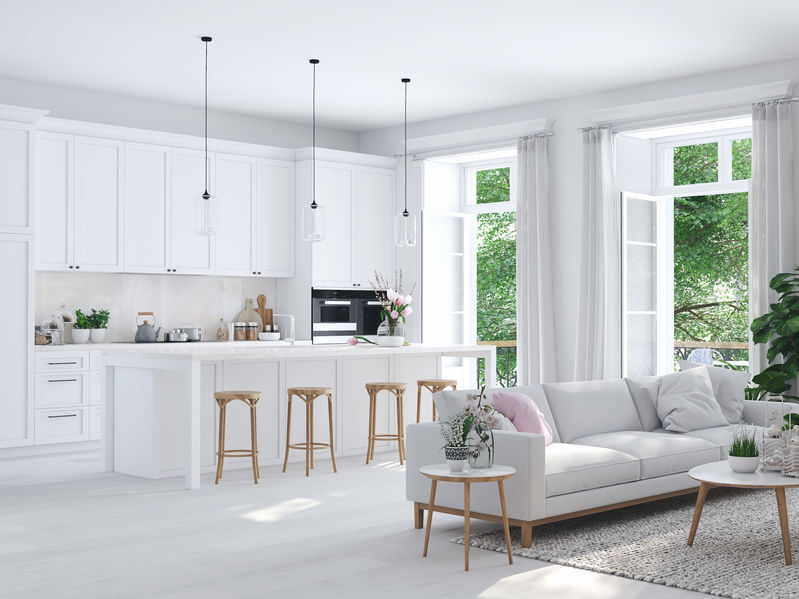
From dewy yellow to creamy avocado, we have seen fad color schemes come and go in the kitchen area. However, the white kitchen design is a scheme that never seems to go out of style. Whether it is white on white or white warmed with wood tones, you cannot go wrong. In this article, you will discover why white has an enduring value.

If you are gearing up to remodel your kitchen, there is no doubt that you are about to spend a considerable amount of money. To get the most out of your investment, it is important to select a design that will still look great years from now. Here are a few reasons why an all-white kitchen is the best way to go:

Clean and Fresh

Featuring an all-white color palette all over your kitchen gives it that clean and fresh feeling. In fact, white will give your kitchen that healthy glow that is hard to achieve with any other color. Did you know that in the 1920s white was often associated with health and sanitation? To achieve this super fresh look, you will need to select a pure white look that is void of grey undertones.

Versatile

Whether your goal is to design your kitchen to reflect a contemporary or traditional kitchen, white is a color that can seamlessly blend into any style. In addition, since this is a standard color offered by all manufacturers, you will be able to easily find accessories, tiles, appliances, and furnishings that are within your budget.

Super Chic

An all-white kitchen does not have to be boring. Everything does not have to be white. In fact, black or stainless steel appliances can help you create the perfect balance. You can also mix in other neutral finishes such as wood, glass, and steel. For instance, glass cabinetry and stainless steel range hood is a great way to mix things up in your design.

Visually Expands

Because white reflects color, it can visually expand a space. If you have a small kitchen, a predominately white design will make it appear bigger than what it actually is.

Increases Resale Value

White is very marketable. In the future, should you decide to put your home on the market, your all-white kitchen will add some brownie points. It is simple to work from for potential buyers, and they will notice that when they come to see your home.

What are your thoughts on the all-white kitchen look? Yay or nay? Let us know in the comment section!

Whether you are moving, remodeling, renovating, or installing new light fixtures, it is important to understand all of the different lighting options available to consumers. Today, we are going to focus on kitchen lighting. The lighting inside of kitchens is imperative for a successful meal. You need to be able to see what you are doing whilst in the kitchen. To help you find this perfect balance, we have created a guide of the most popular types of kitchen lighting. Let’s take a look!

Recessed Lighting

Recessed lighting is an easy way to add glamour and luxury into a home. If you are not familiar with the term, recessed lighting is hidden in the ceiling in little tins to create a more spacious feeling. Most homeowners install recessed lighting for their beauty as well as their easy to clean nature. The only issue with recessed lighting is that you will need enough space above your ceiling for installation. They help to create a beautiful atmosphere but they are not solely used to light a kitchen. 

Pendant Lights

For a more stylish approach, homeowners have shifted gears towards pendant lights. Not only are they stylish, but they are extremely functional. They help provide a closer light to areas which in essence, provides better visibility while cooking. The only issue homeowners find with pendant lights is that they hang low from the ceiling which could potential get in your way while cooking. 

Surface Lights

Surface lights are referred to as the “mushroom” or “bubble” light fixtures in homes. They are placed directly on the ceiling and provide an ample amount of light. They are in fact, easier to clean than the two previous lights mentioned. The only issue homeowners have with surface lights is that they are very visible. If you do not like the look of them, we would not recommend choosing them. With recessed lighting, you have a hidden light source and with pendant lights, you are provided a stylish approach to lighting. Whereas with surface lights, they are kind of just there.

If you are remodeling your home, be sure to keep us in mind for new flooring. We would love to help you complete your home with beautiful floors, cabinets, windows coverings, and countertops. For more information on our vast selection, please visit our website here.

Mar-27-2015

Virtual Room Designer

Posted by Carpets N More under Website Tools

One of our favorite tools is our Virtual Room Designer. This tool enables you to visualize a variety of floor designs and materials in many different types of rooms. This can be incredibly helpful when you are just beginning to decide what kinds of flooring you want to use in the room you are redesigning. 

It can feel overwhelming when you first begin exploring the myriad of options there are and you might feel like there is so much to choose from it feels impossible to know where to start. But with this tool, you can easily picture what different flooring looks like from the comfort of your own home before you come in to visit our store.

The first step is to get online and head to http://www.carpetsnmore.com/designcenter/vrd.aspx to get started with our Virtual Room Designer. Below we will walk you through how to use this tool to illustrate how this feature of our website can be helpful to someone who is trying to decide on what flooring will be best for them.  

Once you have pulled up the link above in your web browser the first step is to identify what room it is that you are going to be designing. For example, say you are going to be changing the flooring in your kitchen—you would first click on the kitchen option. Below several options will appear and you can choose from these options which kitchen matches yours the best.

Next the picture you choose will bring up a window where you can try different materials in the room. This is the best part of the tool because it allows you to visually picture what kinds of flooring would look best with what you already have in your room. For example, you have chosen the kitchen that best matches your kitchen. You will then choose from the ‘type’ drop down menu, picking between things such as hardwood or ceramic tile. Once you’ve made your selection you can narrow your search based on brand, product and color group if you need to.

Have fun and try all different types of flooring! You never know what combination might look best and you might even try something you hadn’t thought of before. It could surprise you as your favorite! Once you have a selection of your favorite flooring come in to one of our locations and we will help you decide what flooring works best for your needs and your home.

Nov-14-2011

Discover the Right Color Choices

Posted by Carpets N More under Design and Decorating, Hints and Tips

Imagine a room in your new home. Some colors have already been chosen, but it’s up to you to finish the design with furniture and accessories. How do you choose?

This lovely still life provides some ideas about the process. The kitchen shown here has cabinets in country green paint along with some rustic distressed honey pine. What does the space need to finish it up effectively?

When you’re looking to add a color, almost anything in that color will help you determine if you’re on the right track. With this kitchen, it was time to head to the pantry for ideas. Red can work in a surprising number of rooms. It certainly works in this one. You don’t have to use a scale or cranberries to check out the color. Do you have a red scarf or sweater? That would work too.

Don’t head right for white when a space is too dark. The soft cream of the bowls and flour provide just the right lighter tone without pulling too bright a white that wouldn’t work in the room. One other thing: white diminishes the appeal of most woods. Try to stick with creams or colors to show any wood surface at its best.

The old-fashioned style of this still life may lean you toward a bronze or antique brass metal choice, but you can see that silver works well here. Don’t be too consistent or you can end up with a cliché rather than a good design.

Apr-16-2011

Plan for Baking with your Children

Posted by Carpets N More under Hints and Tips

If you’re looking for a fun and mildly educational activity you can share with your child, how about baking cookies? It’s a valuable life skill, it involves following directions and accuracy in measuring, and it has its own rewarding snack at the end.

First, anticipate a mess. Children are not naturally tidy and baking has a lot of things that can spill and splash. Plan ahead to reduce any problems this could cause.

Fortunately, kitchens are made to handle messes. Simple preparation such as paper towels or work cloths ready to wipe up spills on your floor and countertop can provide quick clean ups and allow you to go right back to baking. You may want to pre-measure some of the messier elements such as milk and have the eggs already cracked and waiting in a bowl.

Next, don’t stretch your own capabilities. If you’re a regular baker, then make cookies from scratch using one of your tried-and-true recipes. If not, then plan for a mix or even pre-made dough. Add some decorations such as sprinkles, even with a chocolate chip cookie, to make the process more fun and exciting.

Be sure to plan for your final clean-up while the cookies are baking. Start with the cooking implements. You may want to put them all in the sink out of the way. Then wipe down the countertops. End with the floor, to pick up anything that’s landed there during either baking or cleaning. Have your child help clean – it’s an important part of baking.

Finally, be sure to check your young one’s hands and shoes or feet for flour or other ingredients before he or she heads out the kitchen door to less forgiving flooring.

Mar-10-2011

Protecting and Cleaning Tile Grout

Posted by Carpets N More under Care and Maintenance, Tile

Q:  How do I know if the tile grout in my kitchen is protected and how do I remove stains from it?

A: If you happen to have ceramic tiles, good news because ceramic tiles are relatively easy to clean given that it has a glossy or semi-glossy finish. Even latex paint that has dried can easily be removed with a fingernail. However, there is a major difference between the tile surface and the tile grout. Grout happens to be porous that is why it is more prone to stains. This is where grout sealants come in. Grout sealants are applied to your tiles after installing them. This can help reduce the porosity of your grout. It also helps prevent the settlement of moisture underneath the tile and protects the surface from stains.

To see if your grout is still protected, test it. Simply put a few drops of water on the grout joint. The water drop should not soak into the grout. If the grout absorbs the water, then it means it isn’t working. Usually, grout sealant lasts for one to two years at the most.

Two of the best mild cleaners you can find in your home for grout are simply baking soda and water. Apply the mixture with a soft toothbrush. This can be helpful in removing food, wine and coffee stains. But as for difficult stains, it is always best to apply grout colorant. Before attempting to do this yourself you’ll want to consult with one of our tile specialists.